
IC-7300 Clock Battery
The rechargeable clock battery in my Icom IC-7300 eventually stopped holding enough charge between uses. I am cheap and I turn off electrical items when I am not using them. This hastened the demise of the stock battery. Because the original cell is surface-mounted and the charging circuit complicates replacement with an ordinary coin cell, I explored a few practical ways to preserve the radio’s clock without making a risky modification.
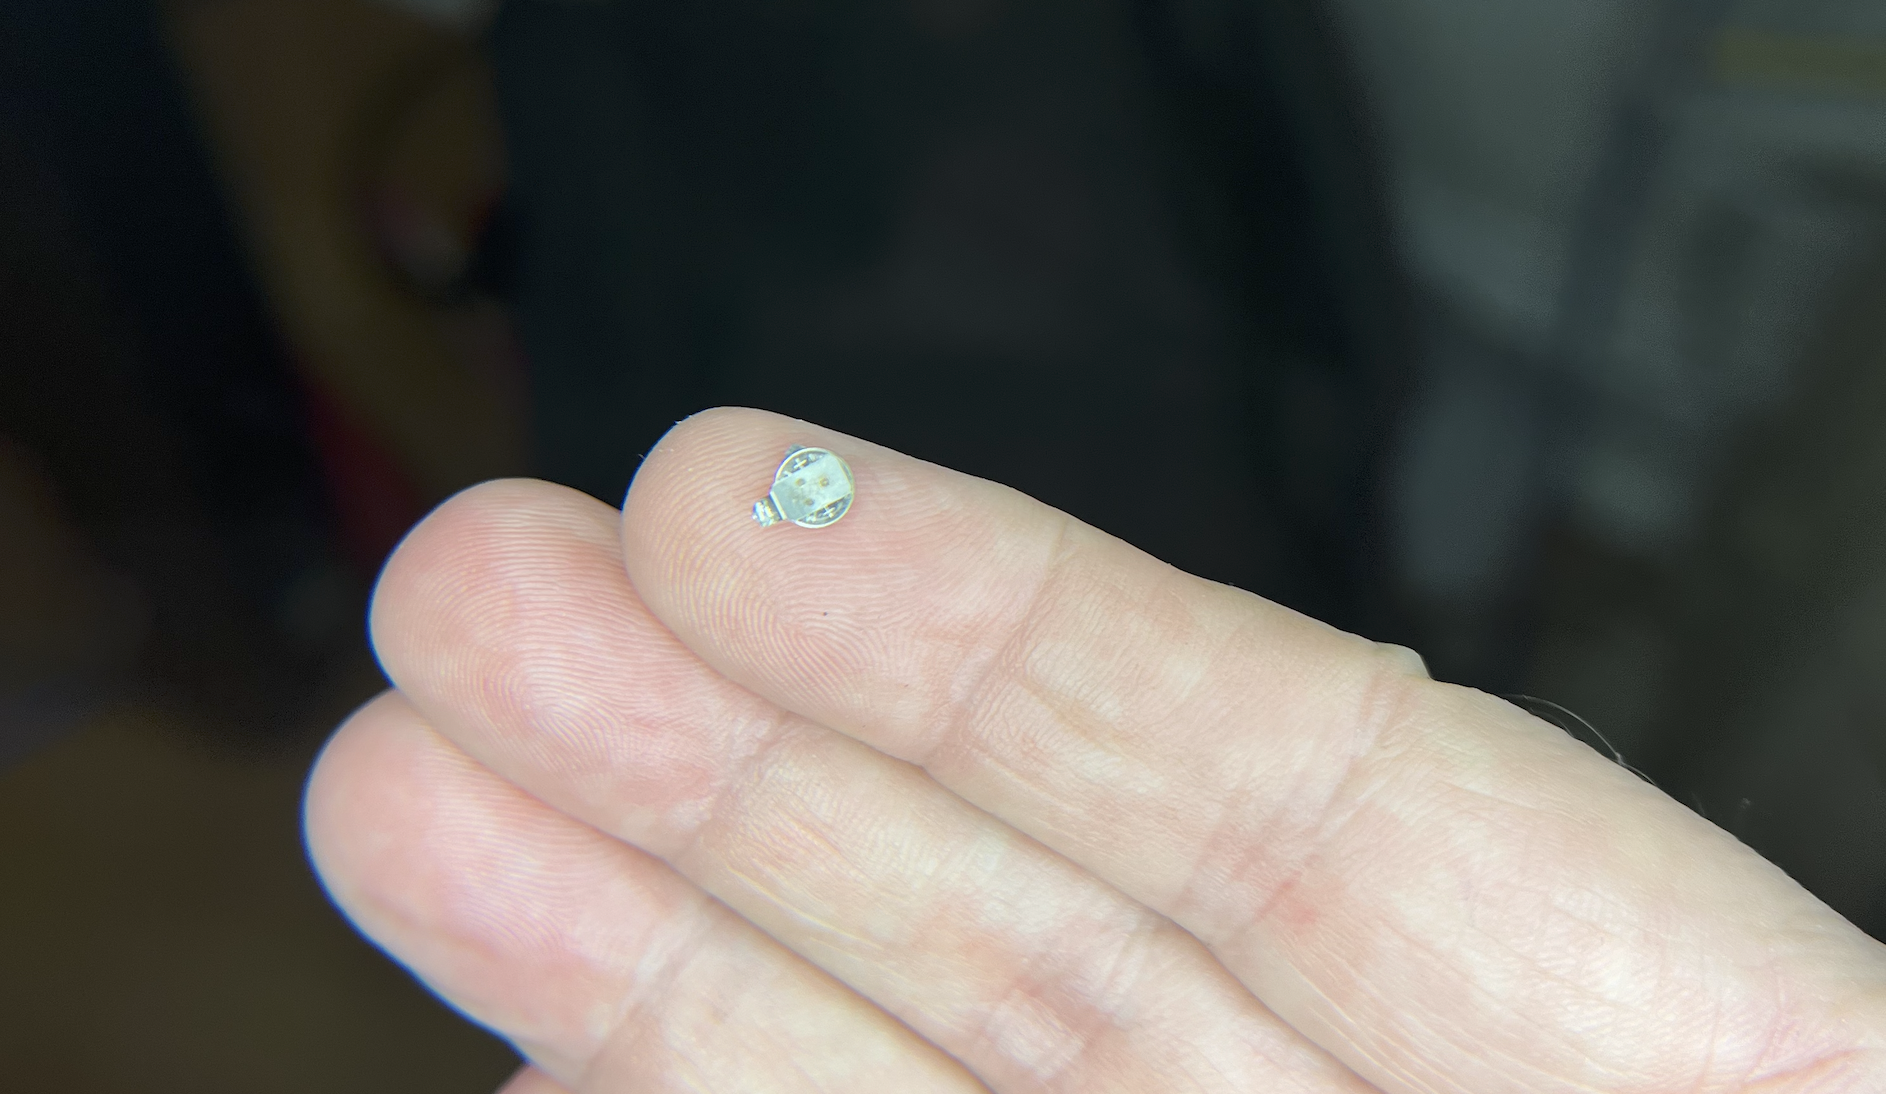
I went the route of a non-rechargable battery. That procedure has the least time with a soldering iron on surface-mounted electronics. Some people just do without, but I do find that I use the zulu-hour clock from time to time, and sometimes I go into the logs to figure out a contact that I made. Without a charged battery, those logs are all from the year 2000.
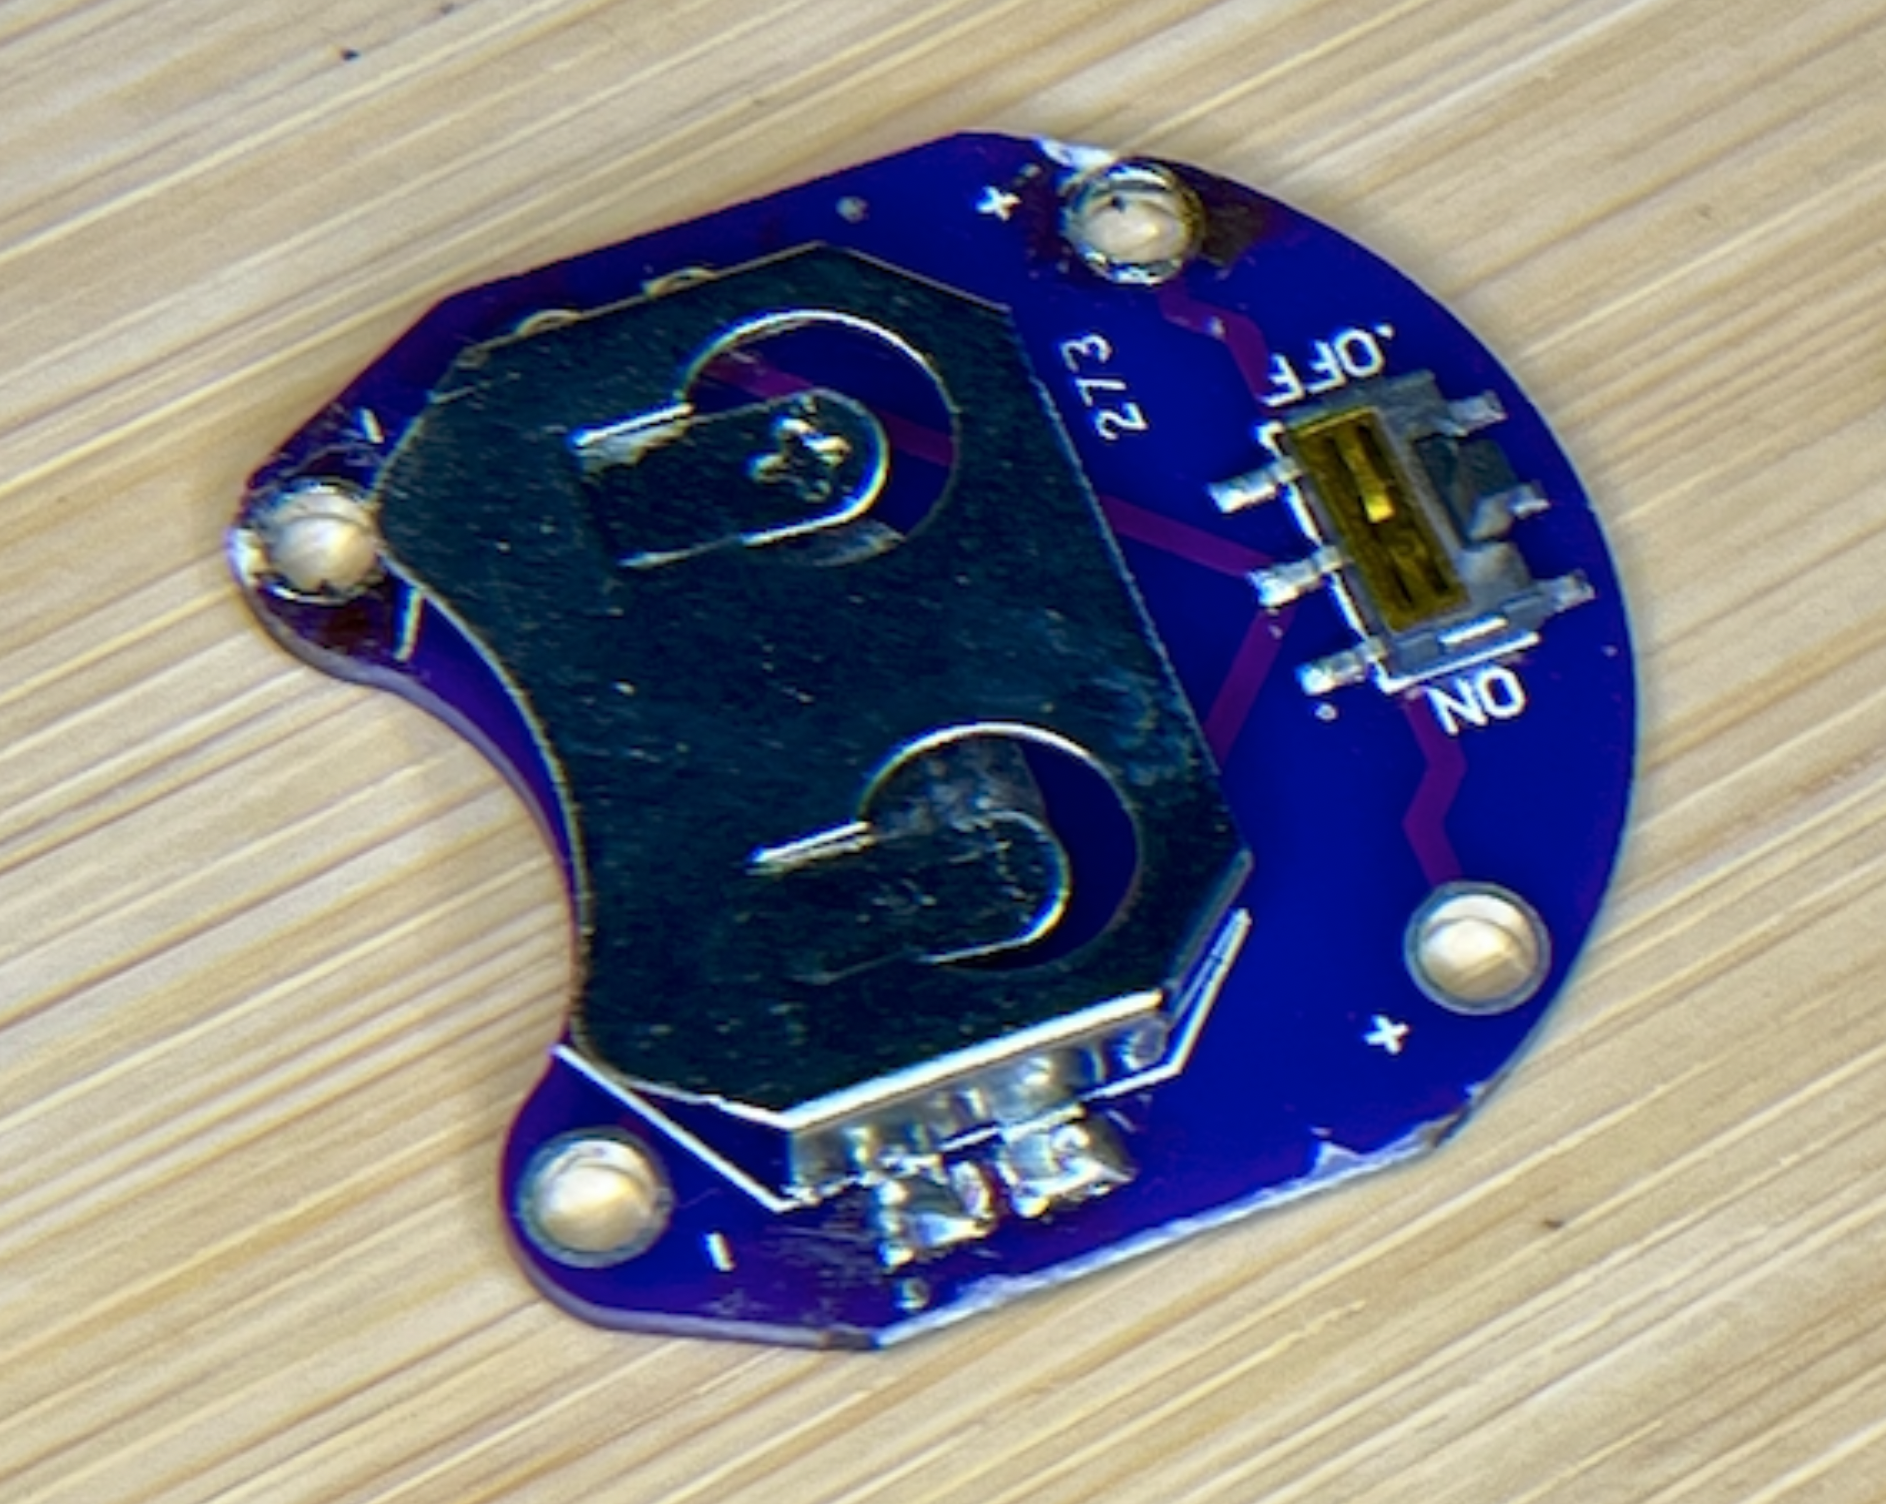
In order to use a unrechargable button battery, I had to find a Schottky diode to keep current from recharging what could not be recharged (in this case a CR 2032 battery). Once again a Twin Cities institution came to the rescue: Ax-Man in St. Paul has discrete components usually under a dollar. It is the last electronics surplus store standing in the area, and we are lucky to have it. Sure enough, they had a 1N5817 in a bin and I bought two of them. The button holder I bought from Amazon, no doubt from China. Predictably, it was a piece of garbage that couldn't stand the stress of an actual battery in its battery slot. I had to resolder the tabs to make it work.
The battery is located under the radio, so you only need to take that cover off. It is located at the front of the radio near the numeral "3" on the PC board.
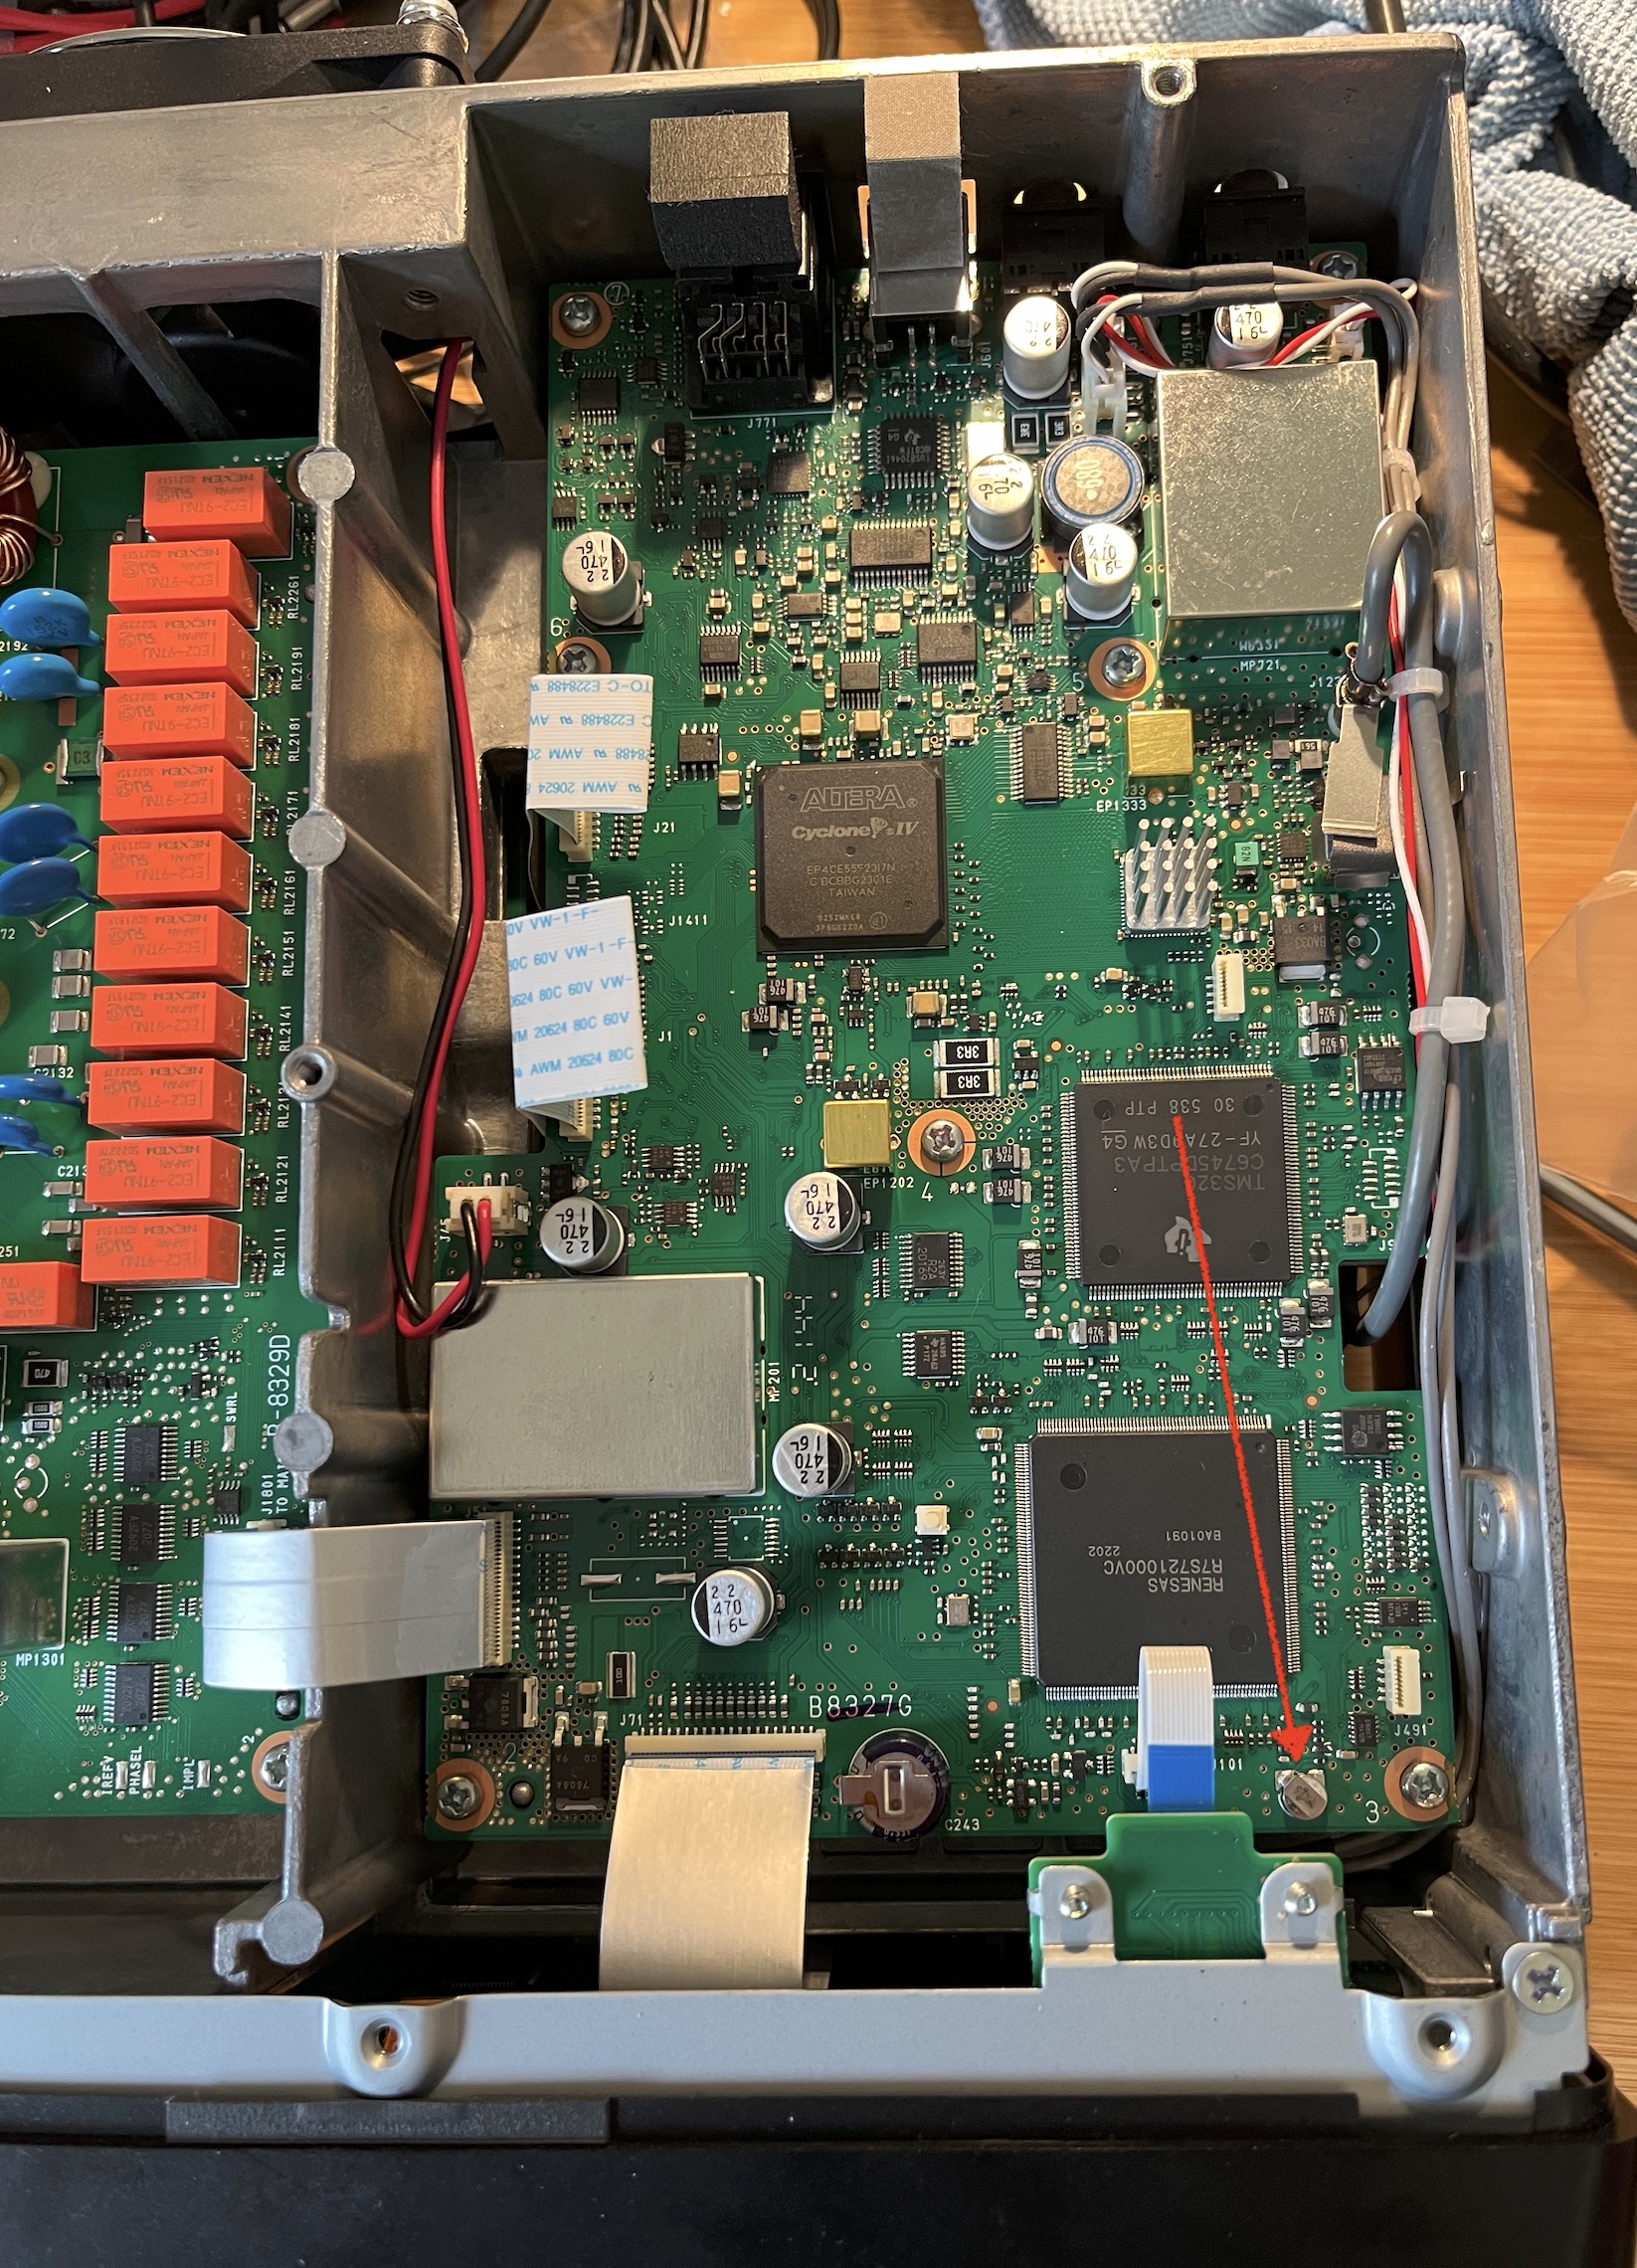
As you can see, it is not the easiest removal. There is no way to do this with a single soldering pencil; there is no way to heat one side and prey up and then move to the other side. You need to heat both soldered ends simultaneously without spreading the heat around on a board with surface mounted components. DL4YHF actually fashioned an "Icom cell extractor" that would warm two points with one soldering pencil, but that seemed complicated and a little too-German for me. Not needing much of an excuse to buy more tools, I bought a new fangled soldering pencil powered by a 100-watt USB-CP and used two pencils at the same time. It was fast and it worked. I placed some black foil over the nearby ribbon connector, not wanting to nick the plastic with a hot iron.
Once off, I had to decide where to place the battery. Some hams used the side of the chassis, but I decided the closest rf metal box was ideal. I had a TPU mat left over from another project and sandwiched it between the box and battery holder with silicone glue to ensure that battery current was separated from the rf box. The red positive lead contains an inline diode to protect the non-rechargeable battery from trying to get charged. I used a 2025 button battery because it was thinner than the 2032 and it fit the holder better.
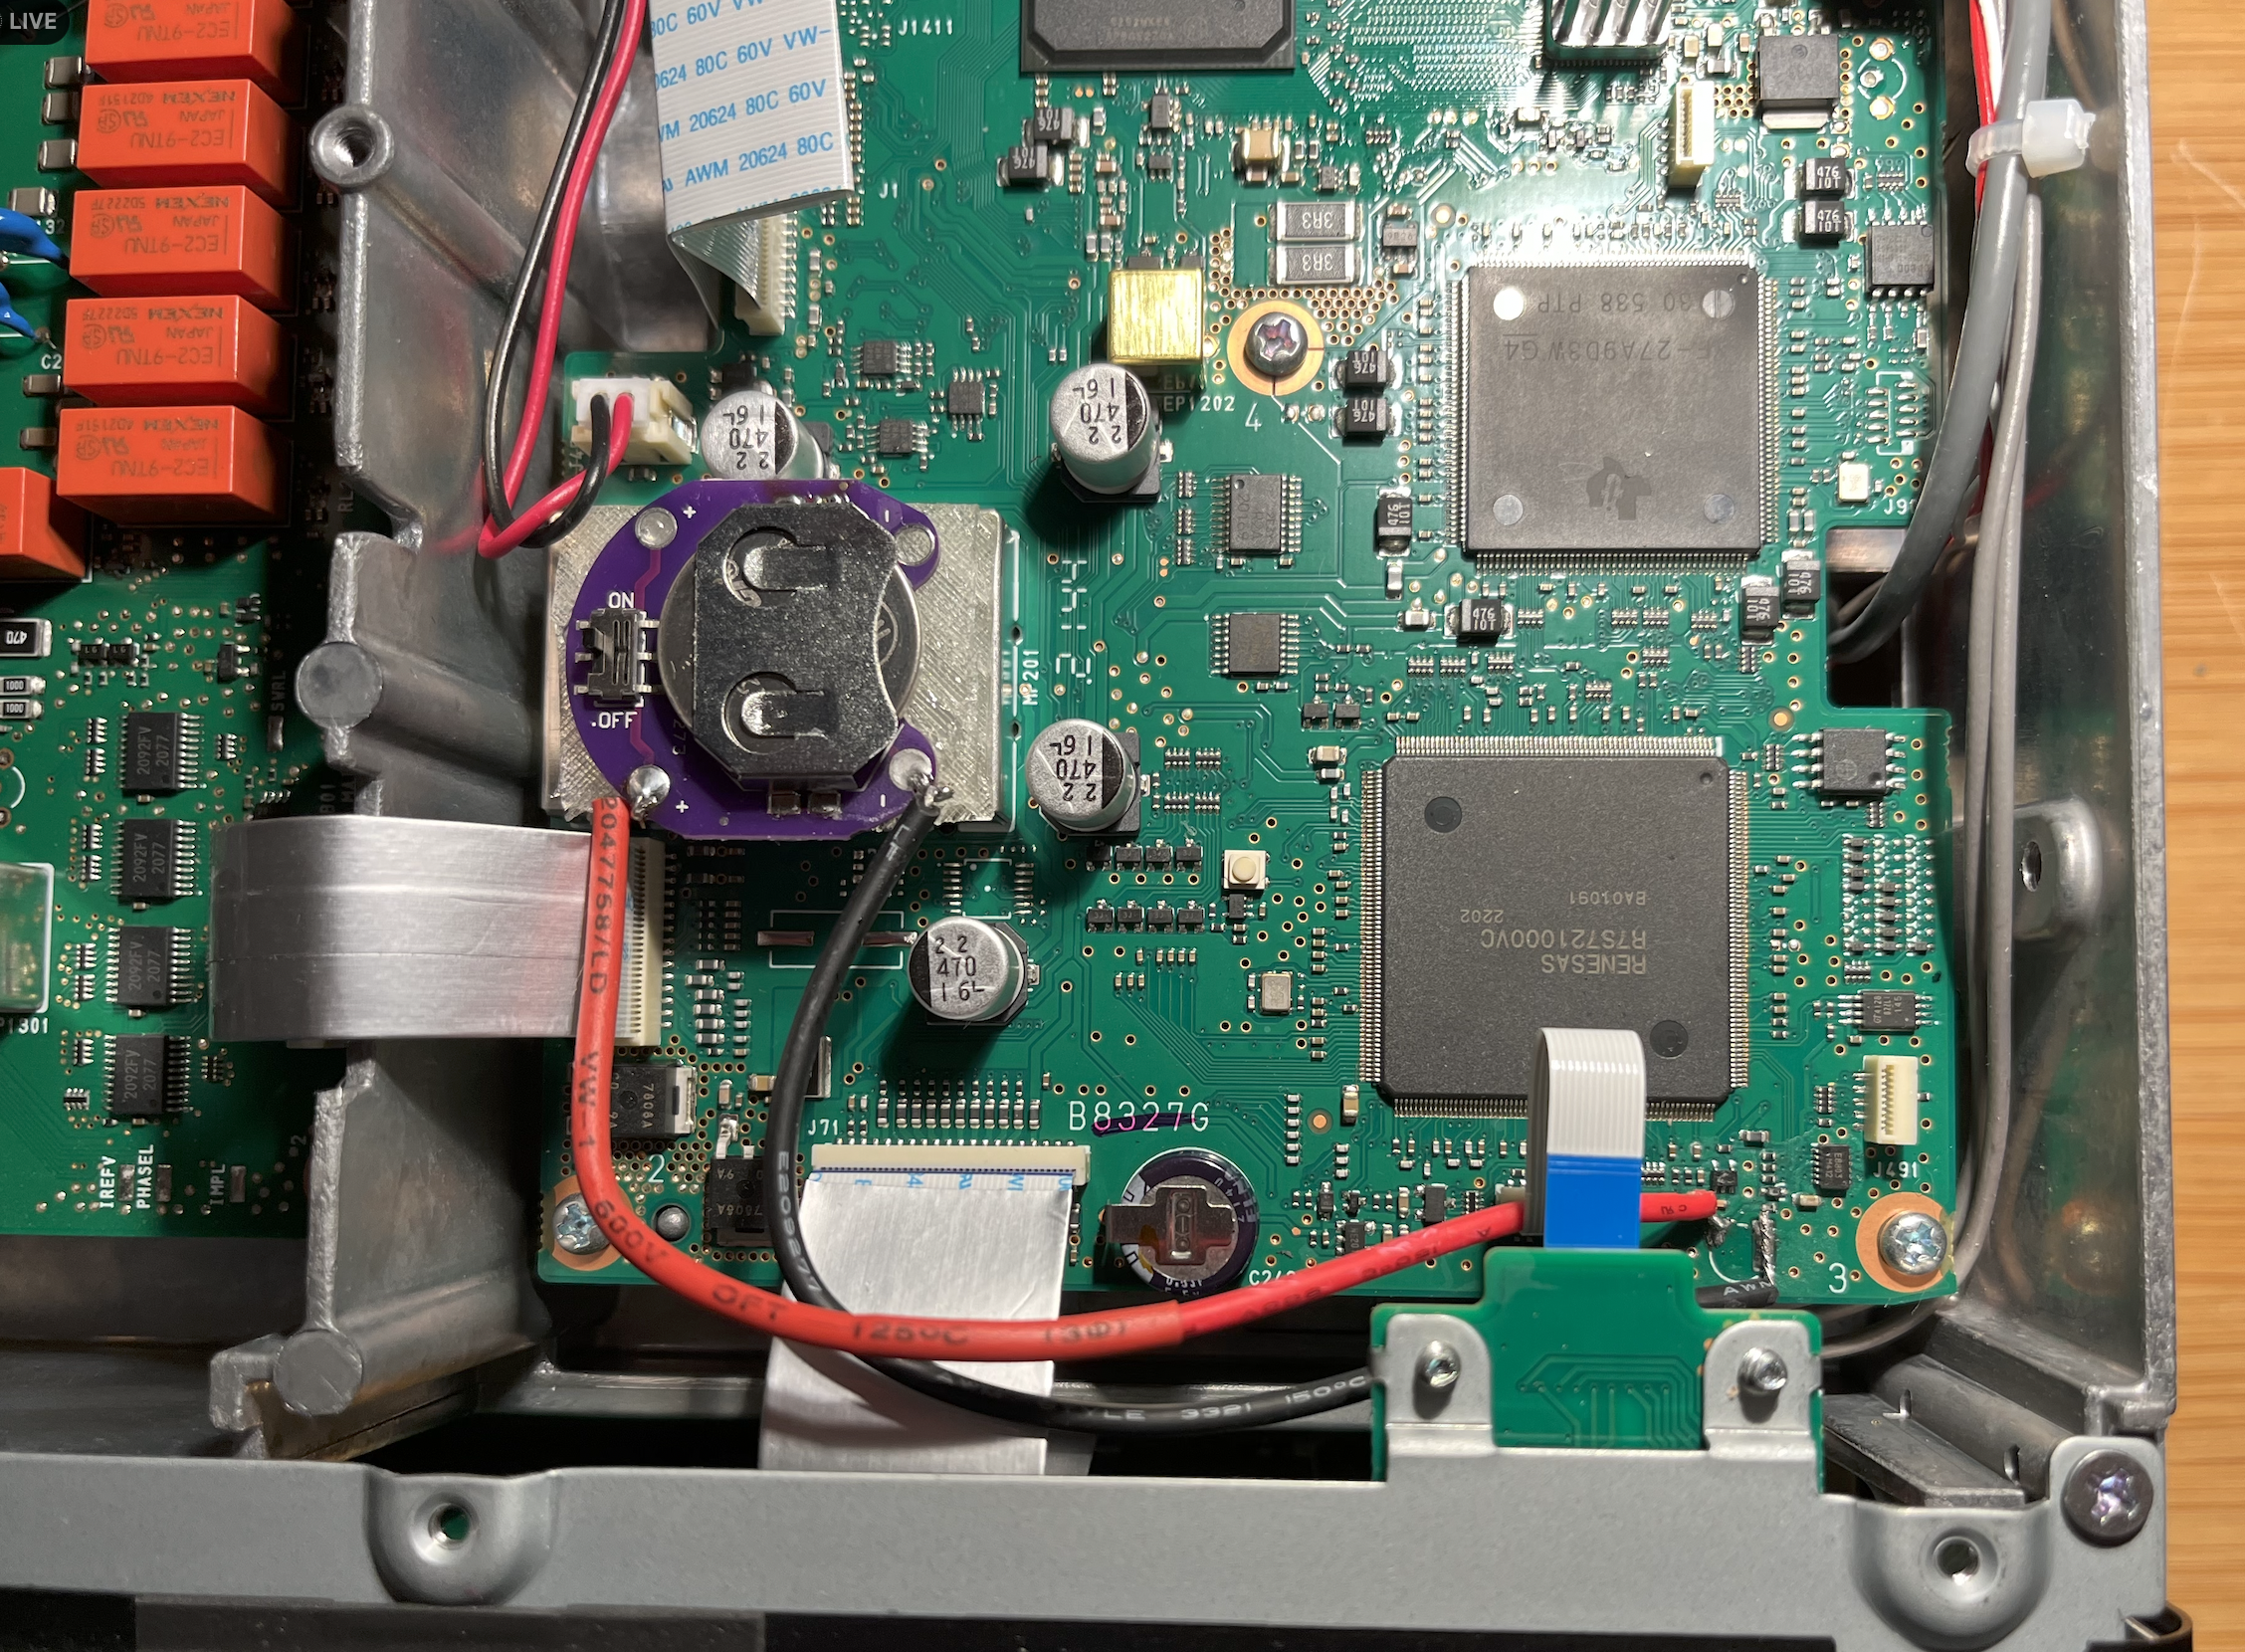
I wanted to make sure the diode was directing the current in the correct direction (unbanded end of the diode towards the battery side). With the battery installed and the radio's external DC disconnected, I measured the voltage reaching the clock at the board. Then I powered the IC-7300 and measured the voltage on both sides of the Schottky diode. The battery side should remain essentially the battery's own voltage; you don't want the radio's charging voltage appearing there. That verifies that the diode really is blocking charging of the battery.
So far, so good. The clock works again and I didn't destroy my 7300. No doubt I will need to replace the battery sometime in the future, but now that will be easily done. Good luck!